Proxmox VE
Proxmox Virtual Environment is an open source server virtualization management solution based on QEMU/KVM and LXC.
硬件需求
Recommended Hardware
- Intel 64 or AMD64 with Intel VT/AMD-V CPU flag.
- Memory, minimum 2 GB for OS and Proxmox VE services. Plus designated memory for guests. For Ceph or ZFS additional memory is required, approximately 1 GBmemory for every TB used storage.
- Fast and redundant storage, best results with SSD disks.
- OS storage: Hardware RAID with batteries protected write cache (“BBU”) or non-RAID with ZFS and SSD cache.
- VM storage: For local storage use a hardware RAID with battery backed write cache (BBU) or non-RAID for ZFS. Neither ZFS nor Ceph are compatible with ahardware RAID controller. Shared and distributed storage is also possible.
- Redundant Gbit NICs, additional NICs depending on the preferred storage technology and cluster setup – 10 Gbit and higher is also supported.
- For PCI(e) passthrough a CPU with VT-d/AMD-d CPU flag is needed.
安装
使用官方提供的镜像,linux 下直接使用 dd 命令烧录到 u 盘即可,windows 下推荐使用 rufus 工具。
安装后,默认 web 页面管理地址为 https://localhost:8006
订阅与系统更新
TIP
推荐使用 Proxmox VE Helper-Scripts 里的脚本 PVE Post Install
在 PVE 界面上修改默认订阅源
节点 -> 更新 -> 存储库
添加 No-Subscription Repository 订阅源
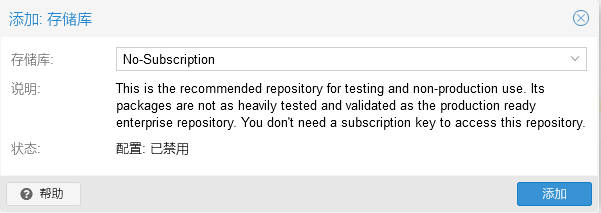
禁用 Enterprise Repository Ceph Quincy Enterprise Repository 订阅源

系统更新
apt-get update
apt-get dist-upgrade查看是否更新成功
pveversion -v硬件直通
硬件直通需要开启 IOMMU
前置条件
Intel 的 CPU 需在主板 BIOS 开启 VT-d
编辑 /etc/default/grub
GRUB_CMDLINE_LINUX_DEFAULT 变量添加以下值 intel_iommu=on iommu=pt intel_pstate=disable
GRUB_DEFAULT=0
GRUB_TIMEOUT=5
GRUB_DISTRIBUTOR=`( . /etc/os-release && echo ${NAME} )`
GRUB_CMDLINE_LINUX_DEFAULT="quiet intel_iommu=on iommu=pt intel_pstate=disable"
GRUB_CMDLINE_LINUX=""保存并更新 grub
update-grub重启即可生效
Intel 核显直通
以 i3-8100T 的核显 UHD Graphics 630 为例
lspci -k输出结果如下
00:02.0 VGA compatible controller: Intel Corporation CoffeeLake-S GT2 [UHD Graphics 630]
        DeviceName: Onboard - Video
        Subsystem: Lenovo Device 312e
        Kernel driver in use: i915
Kernel modules: i915屏蔽核显驱动
# 将核显驱动添加到黑名单
echo "blacklist i915" >> /etc/modprobe.d/blacklist.conf

# 屏蔽驱动后更新
update-initramfs -u -k all

# 重启生效
reboot验证核显是否成功直通
lspci -k此时结果如下
高亮部分显示宿主机的核显驱动由 i915 变为 vfio-pci
这表明核显直通成功
00:02.0 VGA compatible controller: Intel Corporation CoffeeLake-S GT2 [UHD Graphics 630]
        DeviceName: Onboard - Video
        Subsystem: Lenovo Device 312e
        Kernel driver in use: vfio-pci
Kernel modules: i915硬盘直通
查看需要直通硬盘的型号,也可以直接在 pve 的 web 管理界面上直接查找
ls /dev/disk/by-id/将宿主机的硬盘直通给 id 为 101 的虚拟机,使用 sata 接口
qm set 101 --sata0 /dev/disk/by-id/ata-WDC_WD20SPZX-08UA7_WD-WXL1EC8FYULY核显虚拟化
Intel GVT-g 核显虚拟化
WARNING
这种方案不适合运行高负载 3D 游戏,在 Linux 虚拟机下驱动不稳定,很容易让宿主机一起崩溃,也就是 All In Boom
编辑 /etc/default/grub
GRUB_CMDLINE_LINUX_DEFAULT 变量添加以下值 i915.enable_gvt=1
GRUB_DEFAULT=0
GRUB_TIMEOUT=5
GRUB_DISTRIBUTOR=`( . /etc/os-release && echo ${NAME} )`
GRUB_CMDLINE_LINUX_DEFAULT="quiet intel_iommu=on iommu=pt i915.enable_gvt=1"
GRUB_CMDLINE_LINUX=""保存并更新 grub
update-grubIntel SR-IOV 核显虚拟化
暂无可用设备实践...
LXC 使用
LXC is a userspace interface for the Linux kernel containment features. Through a powerful API and simple tools, it lets Linux users easily create and manage system or application containers.
LXC 挂载硬盘
将宿主的 sda1 硬盘分区直通给 id 为 100 的 lxc 容器,挂载路径为 /data
pct set 100 -mp0 /dev/sda1,mp=/data注意事项
宿主硬盘目录里的资源映射到非特权容器时,用户权限会发生偏移,需要在宿主机进行修正
例如,容器里 root 用户在宿主机表示为 100000
chown -R 100000:100000 /data创建 LXC
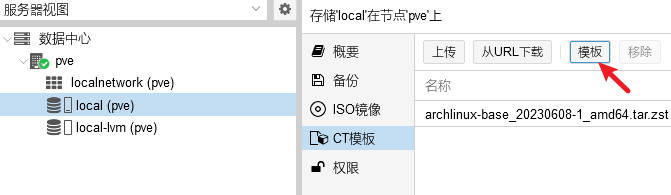
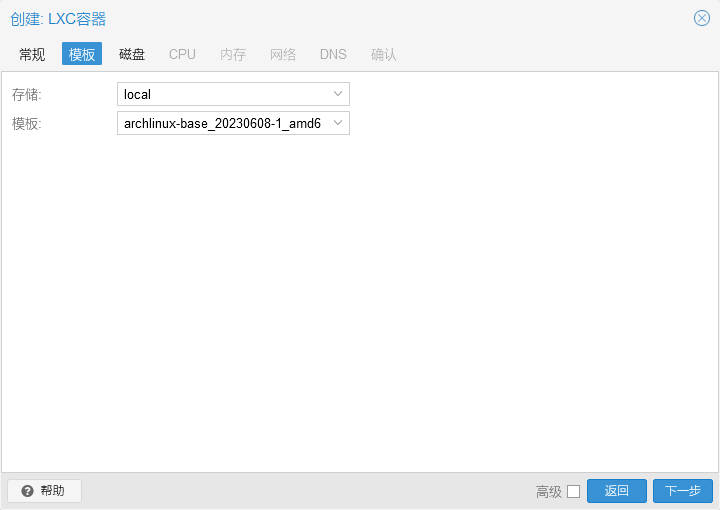
如图点击模板按钮,可以看到选择页面。
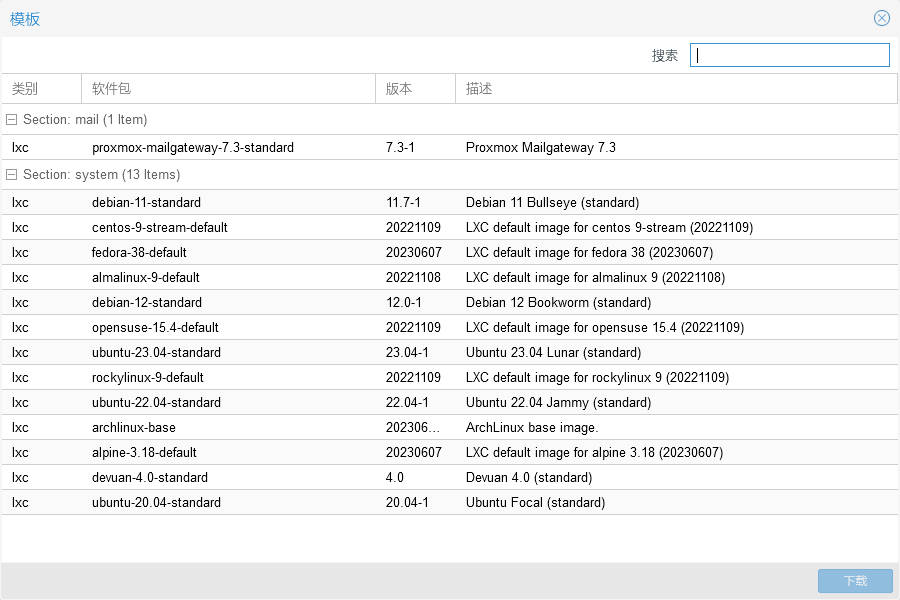
选择任意镜像下载即可。
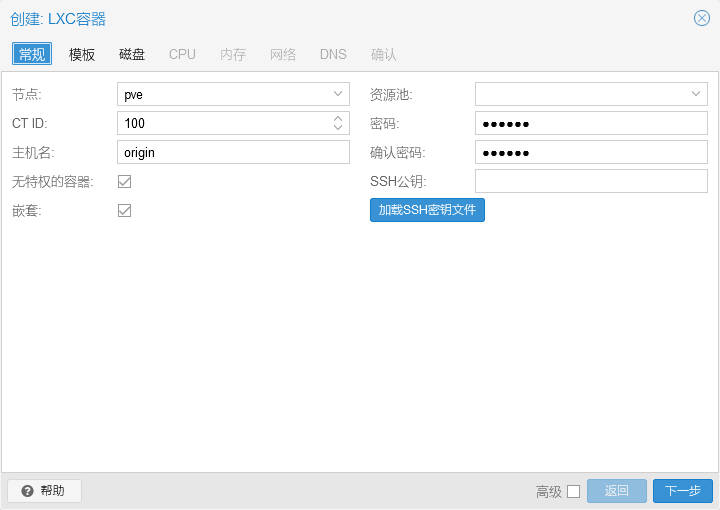
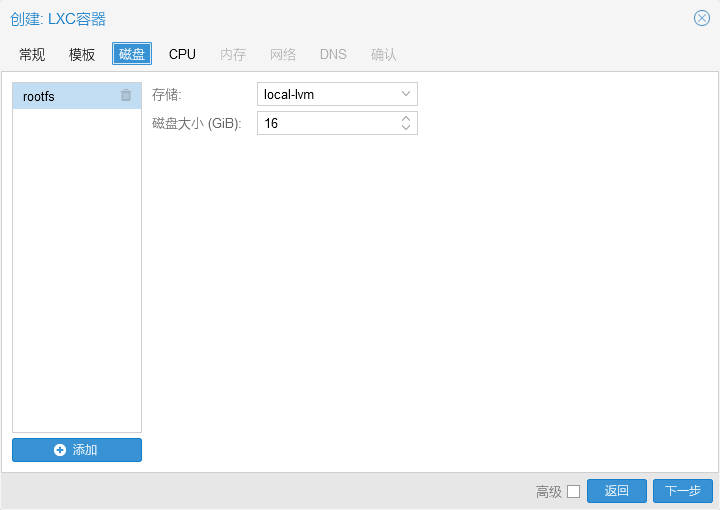
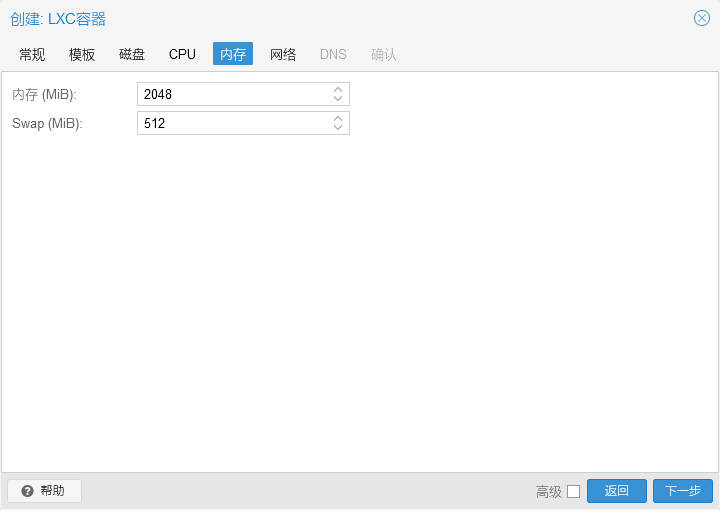
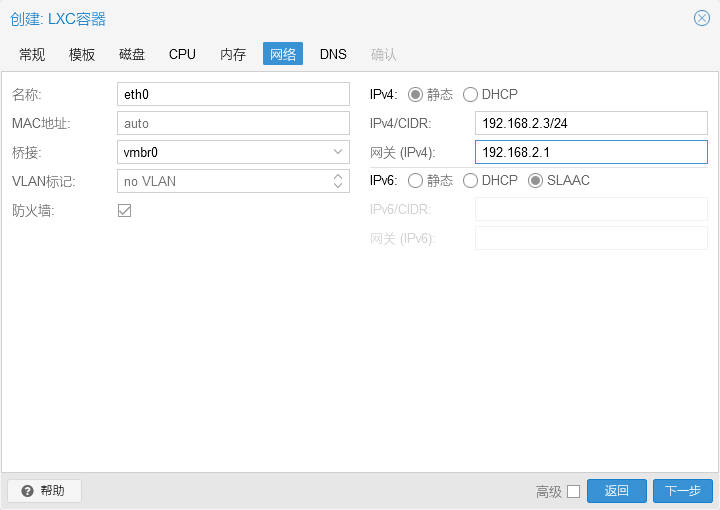
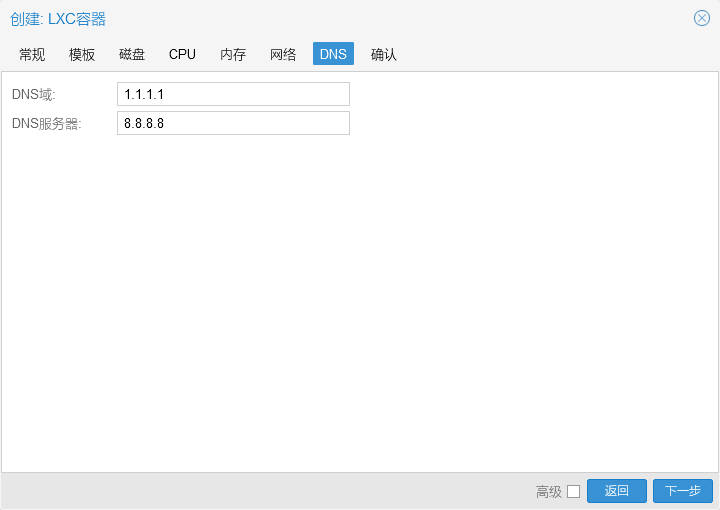
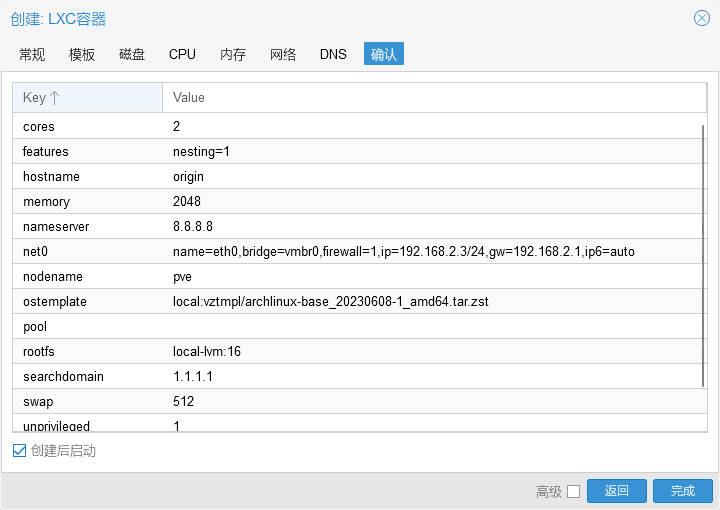
点击主界面右上角的创建 CT,根据步骤按需完成设置。
其他
PVE 挂载 ntfs 分区
TIP
linux 内核版本 >= 5.15 均支持 ntfs3
使用 ntfs3 挂载 ntfs 分区
mount -t ntfs3 /dev/sda2 /mnt/download若挂载失败出现如下问题时,可尝试使用 ntfsfix 修复
mount: /mnt: wrong fs type, bad option, bad superblock on /dev/sda2, missing codepage or helper program, or other error.
dmesg(1) may have more information after failed mount system call.sda2: volume is dirty and "force" flag is not set!修复标记为 dirty 的 ntfs 分区
ntfsfix --clear-dirty /dev/sda2PS
使用 ntfsfix 需安装 ntfs-3g 包
PVE 开机挂载硬盘
使用 blkid 命令查看硬盘 uuid
blkid配置 /etc/fstab
# <file system> <mount point> <type> <options> <dump> <pass>
# 挂载 ext4 分区
UUID=xxx /xxx ext4 rw,noatime,nofail,x-systemd.device-timeout=5,errors=remount-ro 0 2
# 挂载 ntfs 分区
UUID=xxx /xxx ntfs3 rw,noatime,nofail,x-systemd.device-timeout=5,x-systemd.automount 0 2